Still Life Chapter 6 Walkthrough - Part 2
Still Life 1 - Chapter 6
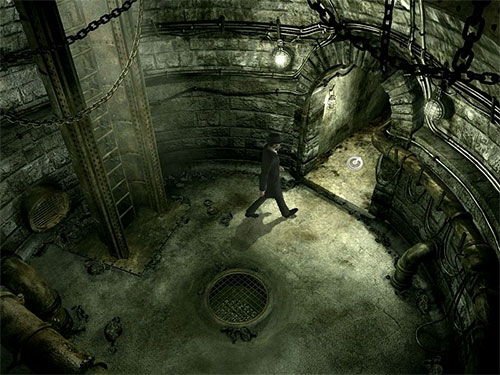
Having escaped the Police at the Lavatory, Gus has escaped into the Sewers. This walkthrough will take you through the maze of the Sewers, where you'll find the last of the Spiked Rings, and through the door with the Ring and Key Puzzles, thus ending Chapter 6 of Still Life.
The Sewers & The 6th Spiked Ring
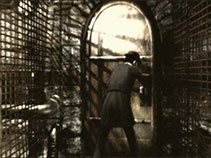
After escaping the Police at the Lavatory, Gus needs to head into the Sewer Maze. Be warned, Save Your Game First! Most of the time you spend in the sewer maze, you won't be able to save your game or access the menu.
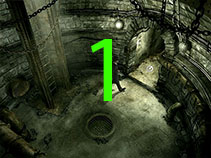
In the Sewers, first you'll need to find the 6th Spiked Ring. After that you'll need to find the door they open. To navigate the maze you'll need to use the arrows in the bottom right corner of the screen. Be aware that while you are viewing the Sewer Maze you will be unable to access any other game screen. That means you can't save, load, or access the main menu in this part of the maze.
To find the 6th Spike Ring follow this path through the sewers from the spot you first entered:
Up, Left, Up, Right,
Up, Right, Up Right, Right,
Down, Right, Down, Left, Up, Left
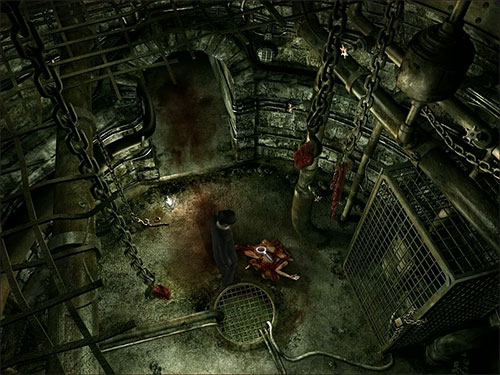
You should now be at the Mutilated Body and be able to find the 6th Spiked Ring by clicking on the pile of remains.
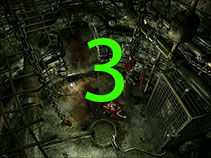
Now that you have the 6th Spike Ring, you'll need to return to the entry point for the Sewer Maze. To get there from here, follow this path after re-entering the maze.
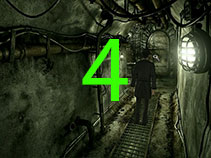
Right, Down, Right, Up,
Left, Up, Left, Left,
Down, Left, Down, Left,
Down, Right, Down
This should put you at the first intersection immediately after the spot you first entered the Sewers.
The Door & Ring Puzzle
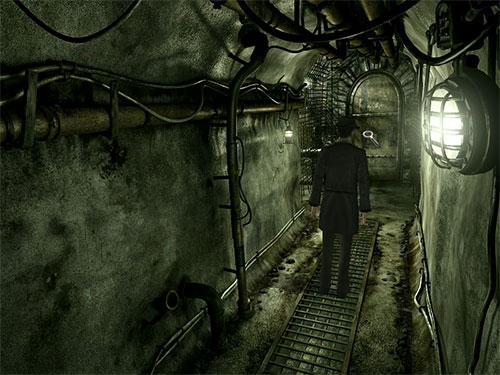
The 6 Spiked Rings found on the different bodies are used as part of a puzzle to open a special door down in the Sewers. To reach this door from the original entry point into the Sewers, follow this path.
Right, Right, Up, Left, Up, Up, Right
You should now be standing in a short hallway with a heavy door at the end. Save your game again now. The first part of this puzzle does reset if you close it, but the second part of the puzzle does not. It's definitely better to be safe than sorry here.
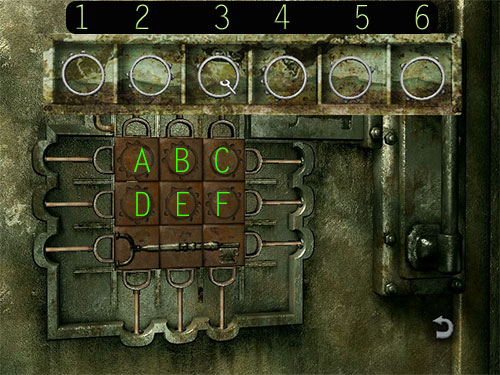
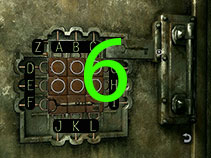
I have numbered the rings 1-6 from left to right as shown in the screenshot. I have also labeled the ring sockets A through F, also shown in the screenshot. The rings all need to be turned either left or right before being inserted. After you click a ring it will be shown to the right of the ring sockets with a pair of arrows allowing you to turn it
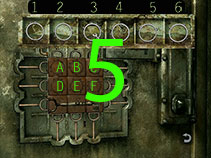
The Rings are inserted like this.
Ring 1:Turn 1 time to the left, and insert it into Socket B.
Ring 2: Turn 3 times to the right and insert it into Socket D.
Ring 3: Turn 5 times to the left and insert into Socket A.
Ring 4: Turn 5 times to the right and insert into Socket C.
Ring 5: Turn 3 times to the right and insert into Socket F.
Ring 6: Turn 1 time to the right and insert into Socket E.
Or Picture it this way:
Ring 3
5x Left
Ring 2
3x Right
Ring 1
1x Left
Ring 6
1x Right
Ring 4
5x Right
Ring 5
3x Right
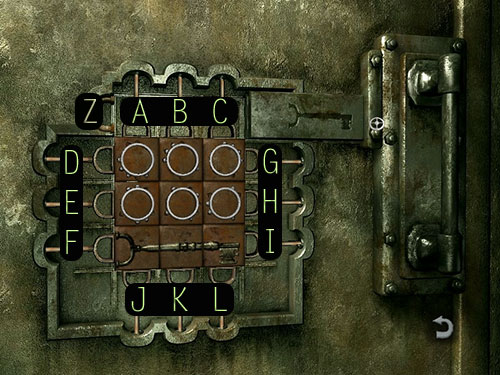
Once you have the rings in place, save your game. The next part of the puzzle will not reset. Here the objective is to move the key to the very top, and then slide it into the key slot to unlock the door. You can do this by clicking the rods in the following pattern:
C, H, L, L, I, C, E, F, F, J, I,
A, L, E, K, F, J, B, A, H, H,
I, I, K, E, B, C, F, J, E, A, H,
C, B, A
By this point the key should be in position, so just finish up by Clicking Z.
The Sewer Maze, Ring & Key Puzzles Wrap-Up
As soon as you have clicked the final rod to insert the key, a cutscene will start. This marks the end of Still Life Chapter 6.
Our Still Life Walkthrough continues with: Still Life Chapter 7 Walkthrough - Part 1
Or you can find our video Still Life Chapter 6 Walkthrough - Part 2 on YouTube:

